How to Build a DIY Vertical Hydroponic Tower
Build a vertical hydroponic tower for under $70 using the Heat and Form method. Grow 16 to 20 plants in under 2 square feet of floor space with PVC pipe and a hardware-store pump.
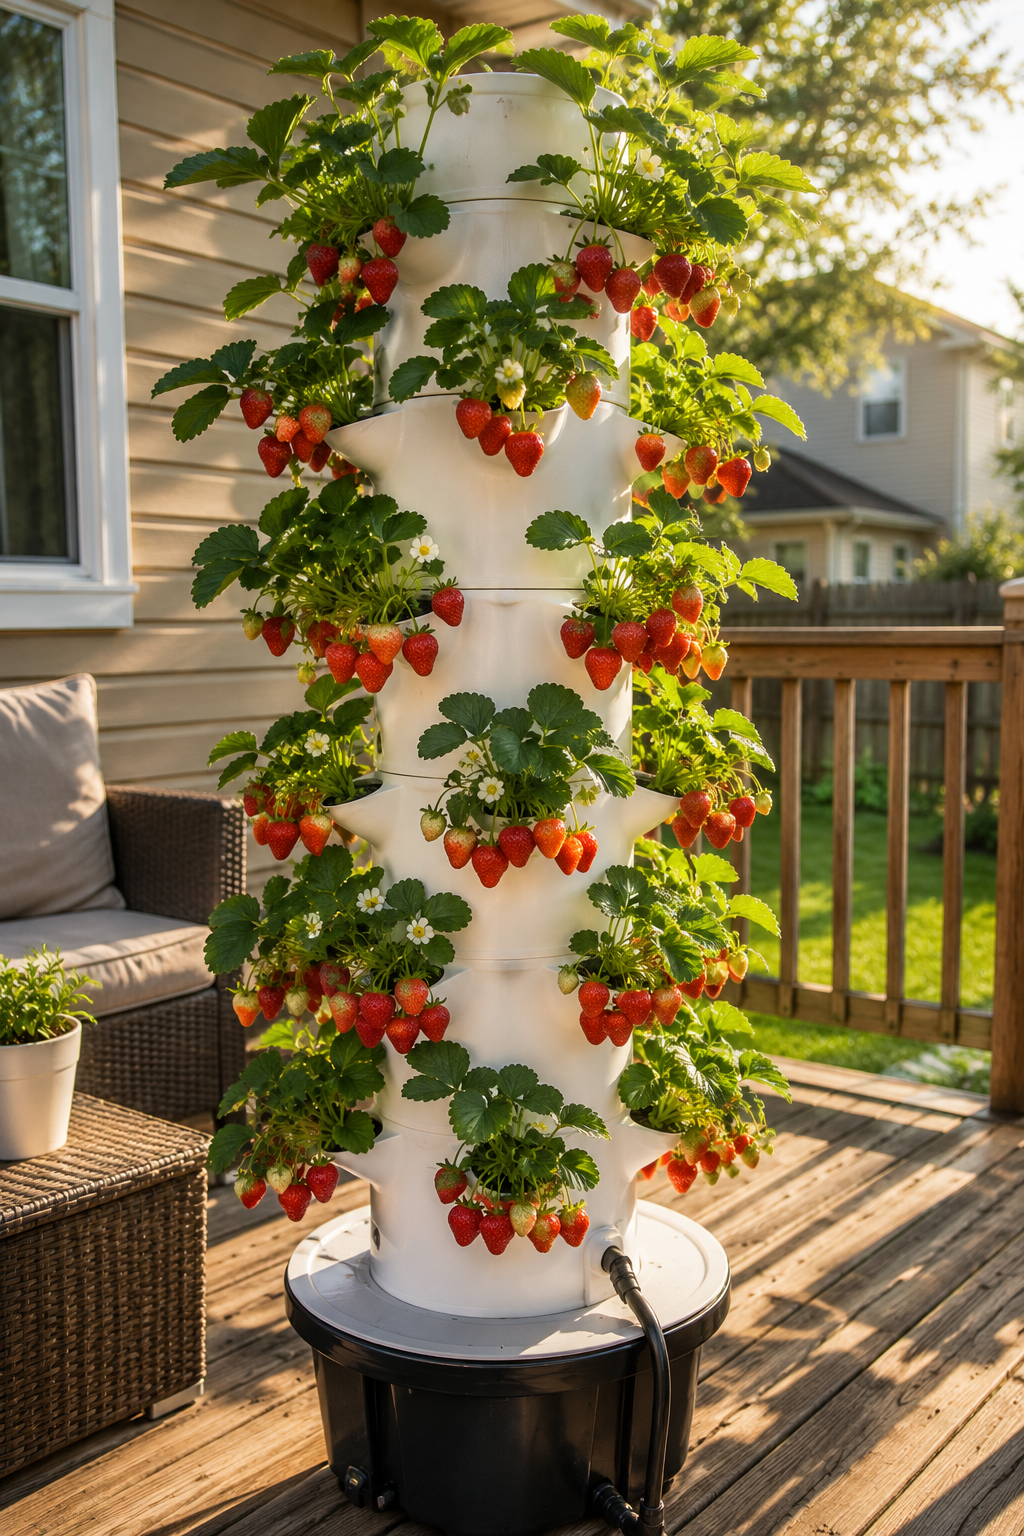
A vertical hydroponic tower grows 16 to 20 plants in under 2 square feet of floor space. The Heat and Form method shapes planting pockets directly from the PVC pipe wall using a hacksaw and heat gun, creating angled openings that hold standard 2-inch net pots securely without clip-on adapters. Total build cost is under $70. New to hydroponics? Start with the complete hydroponics beginner guide.
The short version
- A 5-foot PVC tower holds 16 to 20 plants in under 2 square feet using a staggered pocket spiral pattern.
- The Heat and Form method requires two steps per pocket: a hacksaw cut to define the opening, then a heat gun to shape the angled lip.
- Three details determine success: open base for free drainage, pockets staggered at 90 degrees, and a pump with enough head height to reach the top.
- Total build cost: $69 to $105 depending on pump and pH kit choice.
What Safety Steps Must You Follow Before Heating PVC?
Heating PVC releases fumes. Before picking up the heat gun:
- Work outdoors or in a well-ventilated area with a fan running
- Wear heat-resistant gloves throughout the forming process
- Wear safety goggles
- Use a respirator mask rated for chemical fumes (N95 minimum)
- Never overheat the pipe. If PVC turns brown or bubbles, stop immediately, scorched PVC is brittle and releases significantly more toxic fumes.
Use white Schedule 40 plumbing PVC only. Do not use grey electrical conduit. It looks identical but uses different chemical stabilizers and is not rated for food contact.
What Do You Need?
| Item | Qty | Cost |
|---|---|---|
| 4-inch white Schedule 40 PVC pipe, 5 feet | 1 | $8–12 |
| 1-inch PVC pipe, 5 feet (water column) | 1 | $3–5 |
| 5–10 gallon black opaque bucket (reservoir) | 1 | $5–8 |
| Toilet flange or 4-inch PVC flange | 1 | $4–6 |
| Submersible pump (minimum 6-foot head height) | 1 | $12–18 |
| Vinyl tubing (½ inch, 6 feet) | 1 | $4–6 |
| Drip emitter or water distribution cap | 1 | $3–5 |
| 2-inch net pots | 16–20 | $5–8 |
| Hydroponic nutrient solution | 1 bottle | $12–15 |
| pH meter or test kit | 1 | $8–15 |
| Hydroton or rockwool | 1 bag | $10–12 |
Total: $69–$105
Tools needed: Heat gun (minimum 300°C setting), hacksaw or jigsaw, 2-inch glass bottle or rounded wooden dowel as forming jig, drill with 1-inch hole saw, marker, measuring tape, heat-resistant gloves, safety goggles, respirator mask.
How Does a Hydroponic Tower Work?
The tower uses a top-down drip system. A submersible pump in the base reservoir pushes nutrient solution up through a 1-inch inner water column running through the center of the outer pipe. A drip emitter at the top disperses water evenly inside the tower. Water trickles down the interior wall, passes over plant roots sitting in 2-inch net pots in the formed pockets, and drains back into the reservoir by gravity through the open base of the outer pipe.
The pump runs on a timer: 15 minutes on, 45 minutes off during daylight hours. The growing medium in each net pot retains moisture between cycles so roots stay hydrated without sitting in standing water. The University of Arizona Controlled Environment Agriculture Center documents this intermittent drip approach as a standard method for tower-style vertical systems.
What Grows Best in a Hydroponic Tower?
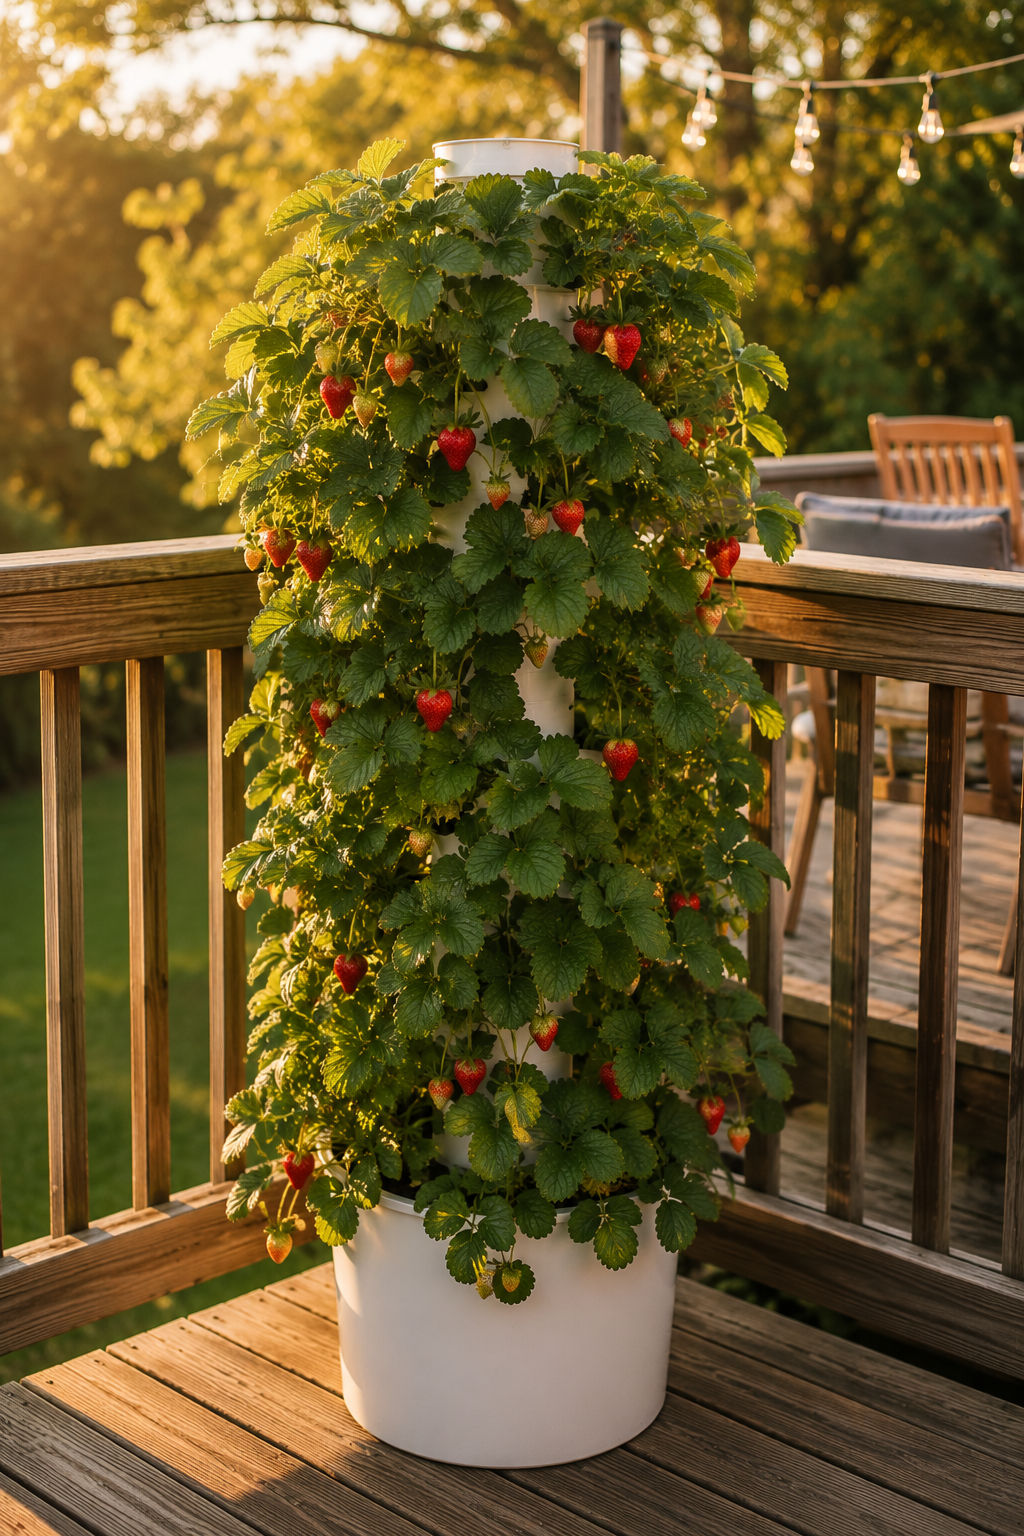
Strawberries are the standout crop for towers. The vertical pocket angle holds berries clear of the plant as they develop, and 16 to 20 plants in 2 square feet produces a continuous supply once established. For a deep dive into nutrient management and variety selection, see how to grow hydroponic strawberries.
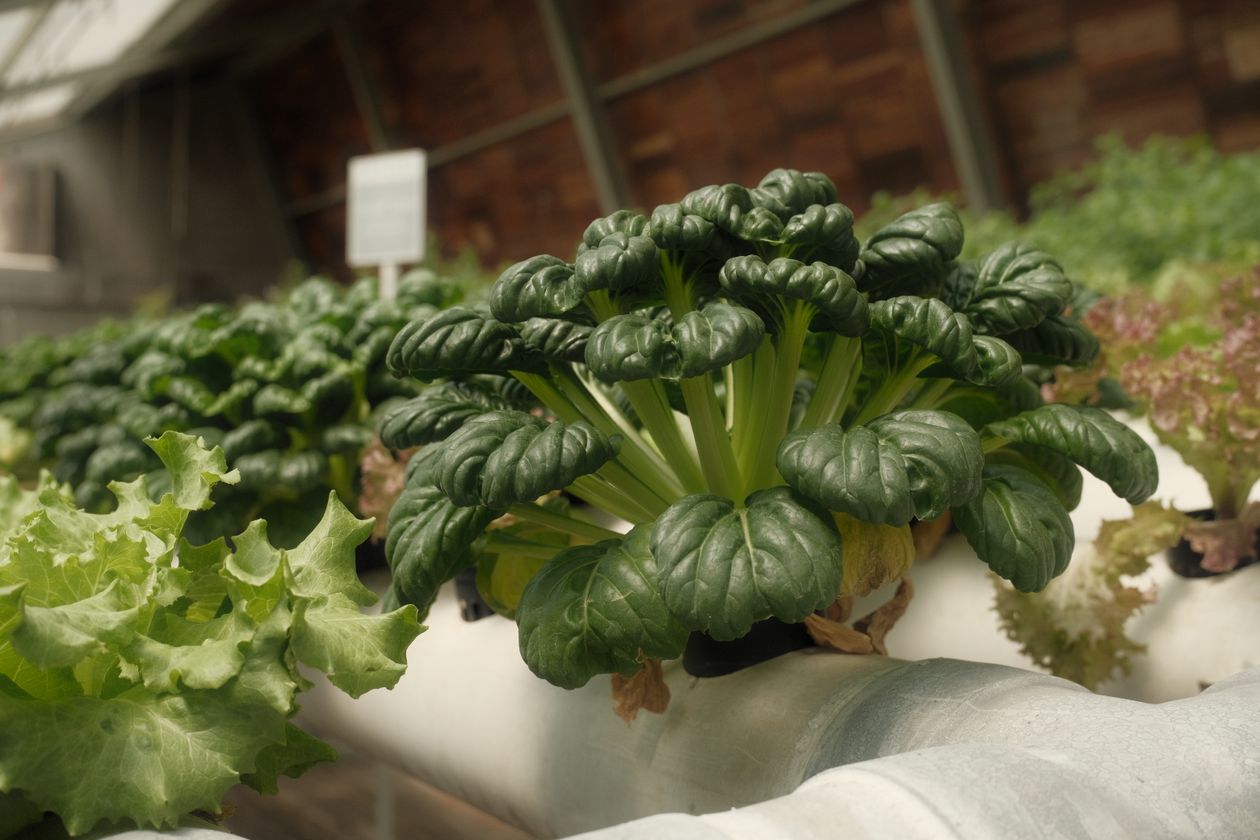
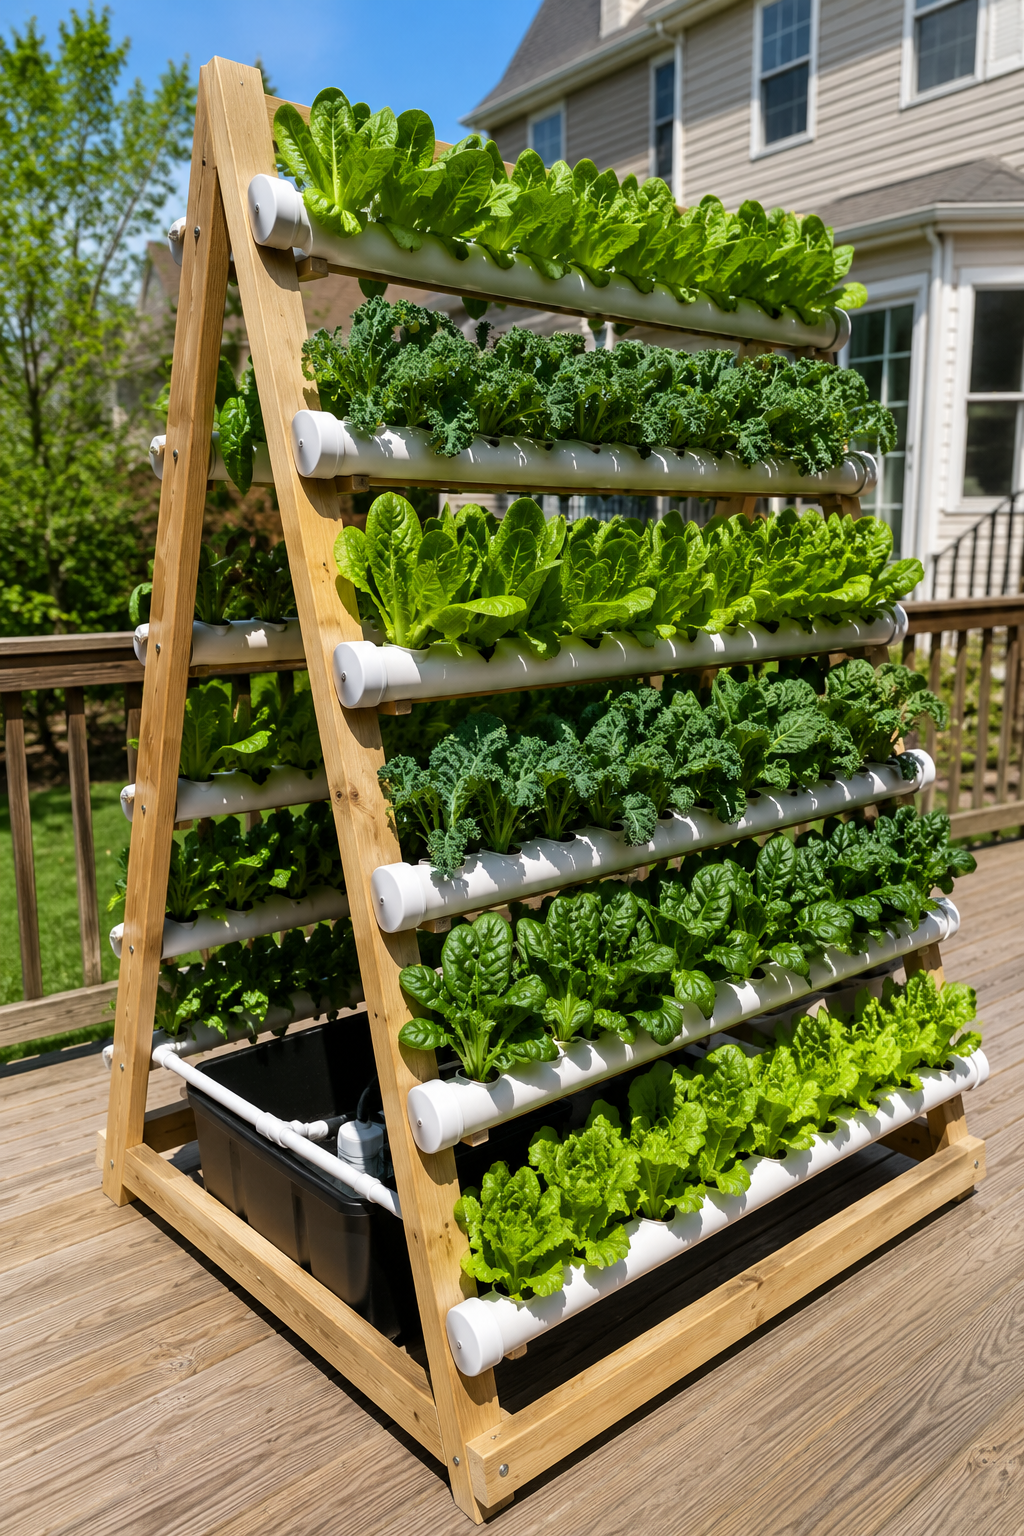
Leafy greens are the most reliable all-around choice: lettuce, spinach, arugula, kale, and Swiss chard all have compact root zones and harvest in 3 to 5 weeks from transplant. Herbs, basil, cilantro, parsley, chives, fill gaps between leafy rows without competing for light.
Avoid heavy fruiting plants like full-size tomatoes or squash. Their root zones outgrow net pots quickly and the weight destabilizes the tower. For a complete crop guide with EC and pH ranges per plant, see the best plants to grow hydroponically.
How Do You Build It Step by Step?
Step 1: Prepare the reservoir and base. Cut a hole in the bucket lid sized to the outer diameter of the 4-inch pipe. The pipe passes through this hole and extends down to near the bottom of the bucket. Secure the pipe to the lid using a toilet flange or 4-inch PVC flange mounted on top of the lid. This holds the tower upright and prevents tipping while allowing water to drain freely back into the reservoir at the base. Do not cap the bottom of the outer pipe, it must remain open for drainage.
Step 2: Prepare the water column. Cut the 1-inch PVC to 5 feet. This inner column runs through the center of the outer pipe. Connect the pump outlet at the bottom via vinyl tubing and attach the drip emitter at the top.
Step 3: Mark pocket positions. Starting 6 inches from the bottom of the 4-inch pipe, mark positions every 6 inches up the pipe. Stagger each pocket 90 degrees from the previous one. This spiral pattern ensures every plant receives light throughout the day and prevents upper pockets from draining directly into lower ones. At 6-inch spacing with 90-degree stagger, a 5-foot pipe yields 16 to 20 pocket positions.
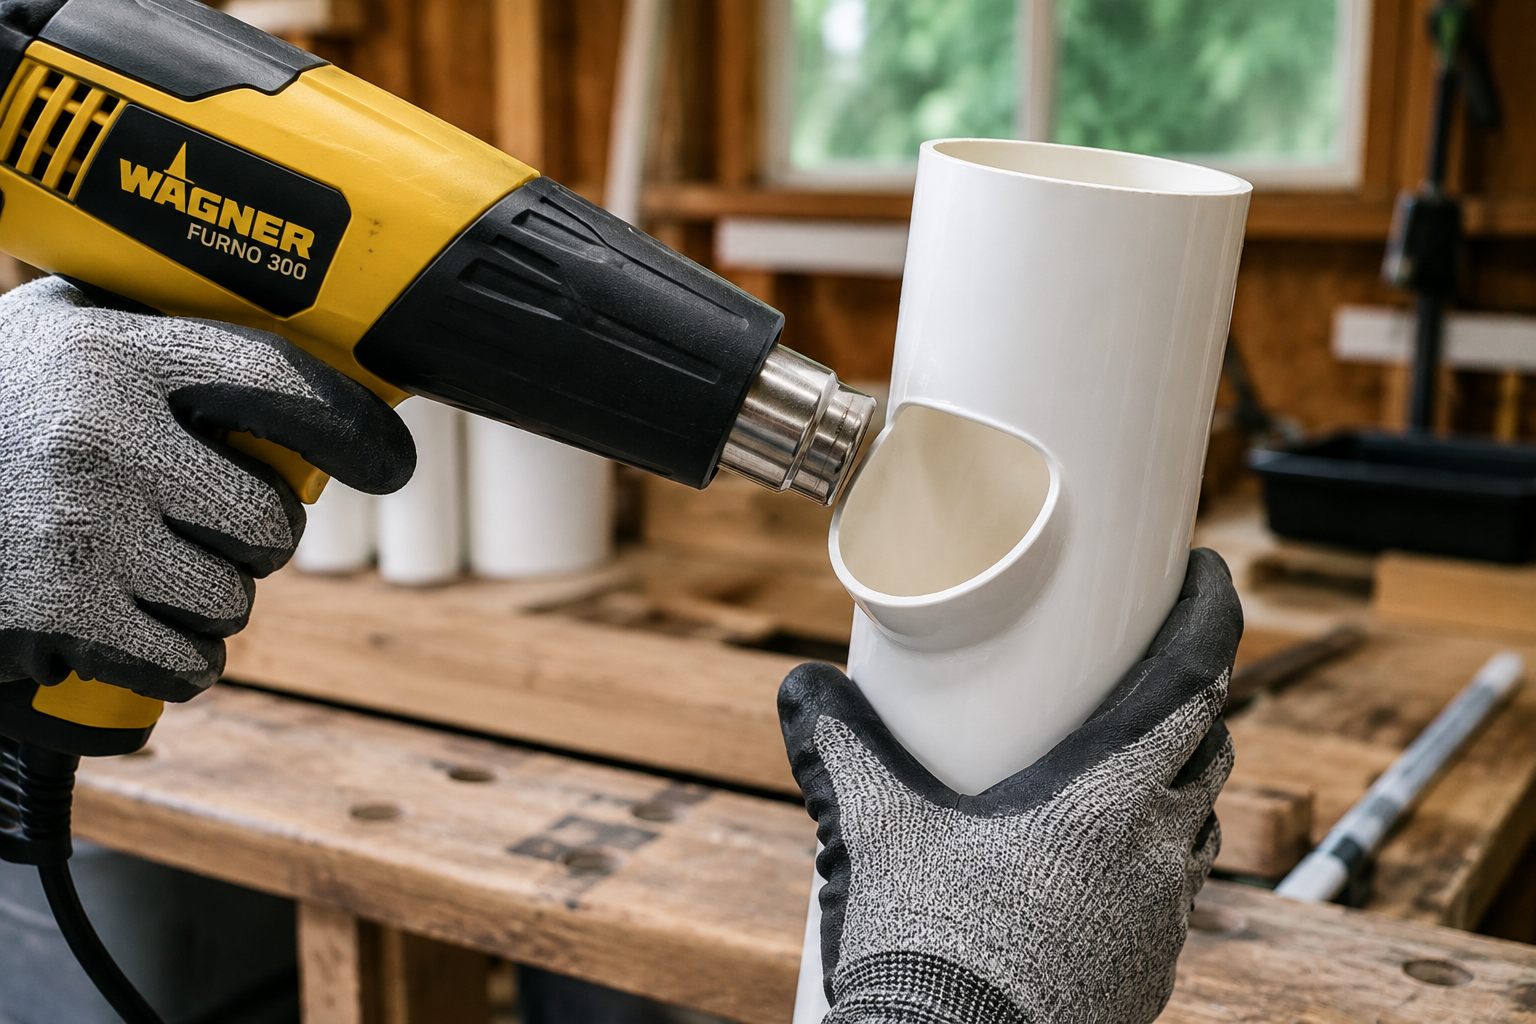
Step 4: Cut and heat-form each pocket. This is a two-part process per pocket.
Part A, Cut the opening: Using a hacksaw or jigsaw, make a horizontal cut 2 to 2.5 inches wide at the marked position. This cut defines the opening. Without it, the heat gun only dents the pipe and cannot form an open pocket.
Part B, Heat and form the lip: Hold the heat gun 2 to 3 inches from the area above and below the cut. Move in small circular motions, never holding in one spot. After 20 to 30 seconds the PVC softens. Immediately press a 2-inch glass bottle or rounded wooden dowel against the softened area and push outward and downward to form a curved lip angled upward at roughly 45 degrees. Hold for 15 to 20 seconds until the PVC cools and holds its shape, then remove the jig. The angled lip allows a 2-inch net pot to sit securely without slipping into the tower interior.
Repeat for all positions, allowing the pipe to cool fully between each pocket.
Step 5: Assemble the tower. Slide the inner 1-inch water column through the center of the outer 4-inch pipe. Insert the assembled tower through the bucket lid hole until the base of the outer pipe sits near the bottom of the reservoir. Secure with the toilet flange on top of the lid.
Step 6: Test before planting. Fill the reservoir with plain water, run the pump, and confirm water distributes evenly from the top and drains cleanly back into the reservoir. Fix all leaks before adding nutrients or plants.
How Do You Set Up for the First Run?
Once the plain water test passes, drain and refill with nutrient solution. Maintain:
- pH: 5.8 to 6.3, as outlined in the Oklahoma State University EC and pH guide for hydroponics
- EC: 1.2 to 2.0 mS/cm for leafy greens and herbs; 1.4 to 2.2 mS/cm for strawberries
Fill each net pot with hydroton or rockwool, plant seedlings, and place into the angled pockets. Set the pump timer to 15 minutes on, 45 minutes off. For a full explanation of pH and EC management, see pH and nutrients for beginners.
What Are the Most Common Build Mistakes?
Skipping the hacksaw cut. Heating Schedule 40 PVC without cutting first only dents the pipe. The plastic cannot form an open pocket without a horizontal cut to define the opening.
Capping the bottom of the outer pipe. The base must remain open for water to drain freely into the reservoir. A sealed base causes flooding inside the tower.
Overheating the PVC. If the pipe turns yellow, brown, or bubbles, stop and let it cool. Keep the heat gun moving at all times and never hold in one spot for more than a few seconds.
Pockets not staggered. Straight vertical pockets cause upper plants to shade lower ones and drain directly into lower pockets. Always stagger 90 degrees.
Pump head height too low. A pump rated below 6-foot head height will not push water reliably to the top of a 5-foot tower. Check the pump spec sheet before buying.
How Do You Maintain the Tower?
- pH every 3 to 4 days. Drift above 6.5 locks out iron and manganese; drift below 5.5 causes calcium and magnesium deficiency. Correct with pH up or pH down solution.
- Reservoir top-up every 2 to 3 days in warm weather. Use plain pH-adjusted water between full solution changes.
- Full nutrient change every 2 weeks. Drain, clean the reservoir with a mild hydrogen peroxide solution, and refill. Salt buildup between changes makes pH increasingly difficult to manage.
- Root check monthly. Roots can clog the drain opening or wrap around the pump. Trim long roots and clear the base opening. For preventing algae in the reservoir, see hydroponic algae prevention.
The Bottom Line
The Heat and Form method requires two steps per pocket: a hacksaw cut to define the opening and a heat gun to shape the angled lip. Three details determine success: open base for free drainage back to the reservoir, pockets staggered at 90 degrees to prevent shading and drainage overlap, and a pump with at least 6-foot head height to reliably reach the top of the tower.
For an overview comparing all five vertical system types by cost and space, see how to build a vertical hydroponic system at home.
Is Schedule 40 PVC safe for growing food hydroponically?
Yes. Schedule 40 is the same material used in residential plumbing and has been used in commercial hydroponic towers for decades. Do not use grey electrical conduit, it looks identical but uses different chemical stabilizers and is not rated for food contact.
What plants grow best in a vertical hydroponic tower?
Lettuce, spinach, kale, arugula, and herbs are the most reliable. Strawberries are the standout crop, the vertical position helps berries hang clear of the plant and the fruit-to-space ratio is excellent. Avoid heavy fruiting plants like full-size tomatoes unless the structure is specifically reinforced.
How many plants can a 5-foot hydroponic tower hold?
16 to 20 plants with pockets spaced every 6 inches in a staggered spiral pattern. At 90-degree stagger, each plant gets light throughout the day and upper pockets do not drain directly into lower ones.
Can a hydroponic tower be used indoors?
Yes. Position full-spectrum LED grow lights vertically alongside the tower rather than above it. A single overhead light cannot reach lower pockets evenly on a tall column.
How long until first harvest in a hydroponic tower?
Leafy greens take 3 to 5 weeks from transplant. Strawberries take 6 to 10 weeks. Stagger planting every 2 weeks for a continuous harvest instead of one large flush.
Sources (3)
- University of Arizona, Controlled Environment Agriculture Center, retrieved 2026-06-28, https://ceac.arizona.edu/
- Oklahoma State University Extension, Electrical Conductivity and pH Guide for Hydroponics, retrieved 2026-06-28, https://extension.okstate.edu/fact-sheets/electrical-conductivity-and-ph-guide-for-hydroponics.html
- Cornell University, Controlled Environment Agriculture, retrieved 2026-06-28, https://cea.cals.cornell.edu/