How to Build an A-Frame Hydroponic System at Home
Build a working A-Frame hydroponic system for under $100. Grow 36 to 48 plants in 4 square feet using NFT, PVC pipe, and standard hardware-store lumber.
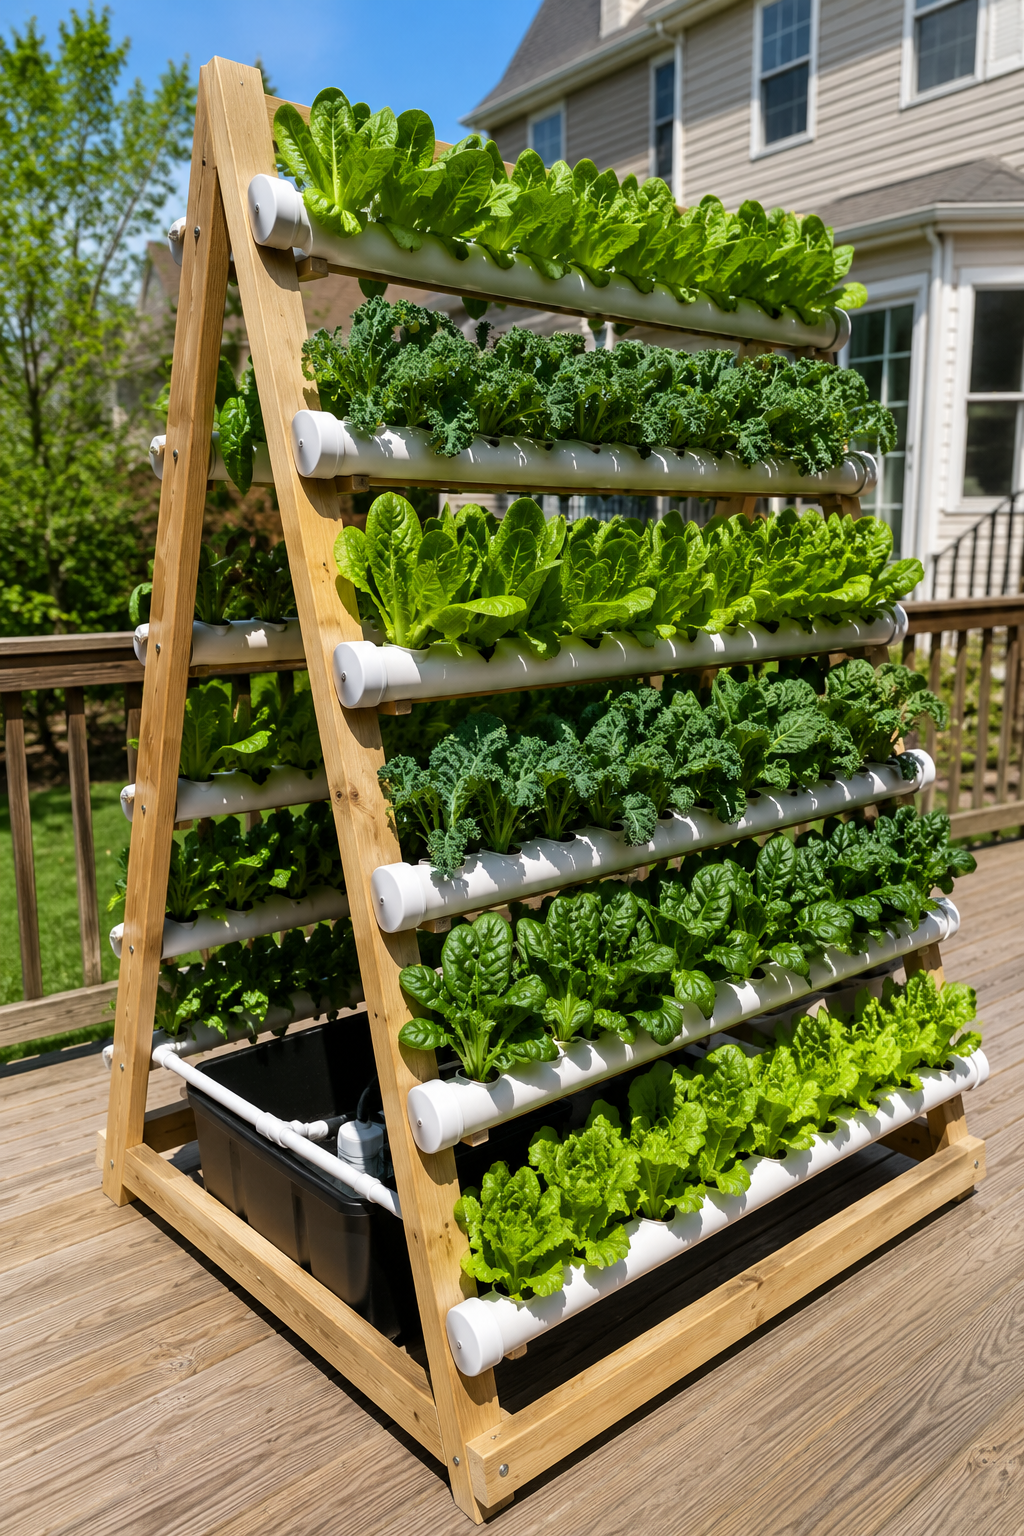
An A-Frame hydroponic system grows 36 to 48 plants in roughly 4 square feet of floor space. Both sides receive sunlight evenly as the sun moves, making it the most light-efficient outdoor system you can build at home. It runs on NFT (Nutrient Film Technique), costs under $100 in materials, and can be assembled in a weekend using lumber and PVC pipe from any hardware store. New to soilless growing? See the complete hydroponics beginner guide first.
The short version
- Grows 36 to 48 plants in 4 square feet using both sides of the frame simultaneously.
- Runs on NFT, the pump must run 24/7. Without the constant thin film, roots dry out and die within 45 minutes.
- Three details determine success: pipe slope at exactly 1 to 2 degrees, reservoir kept in shade, pump never turned off.
- Total build cost: $85 to $105 in materials from any hardware store.
What Do You Need?
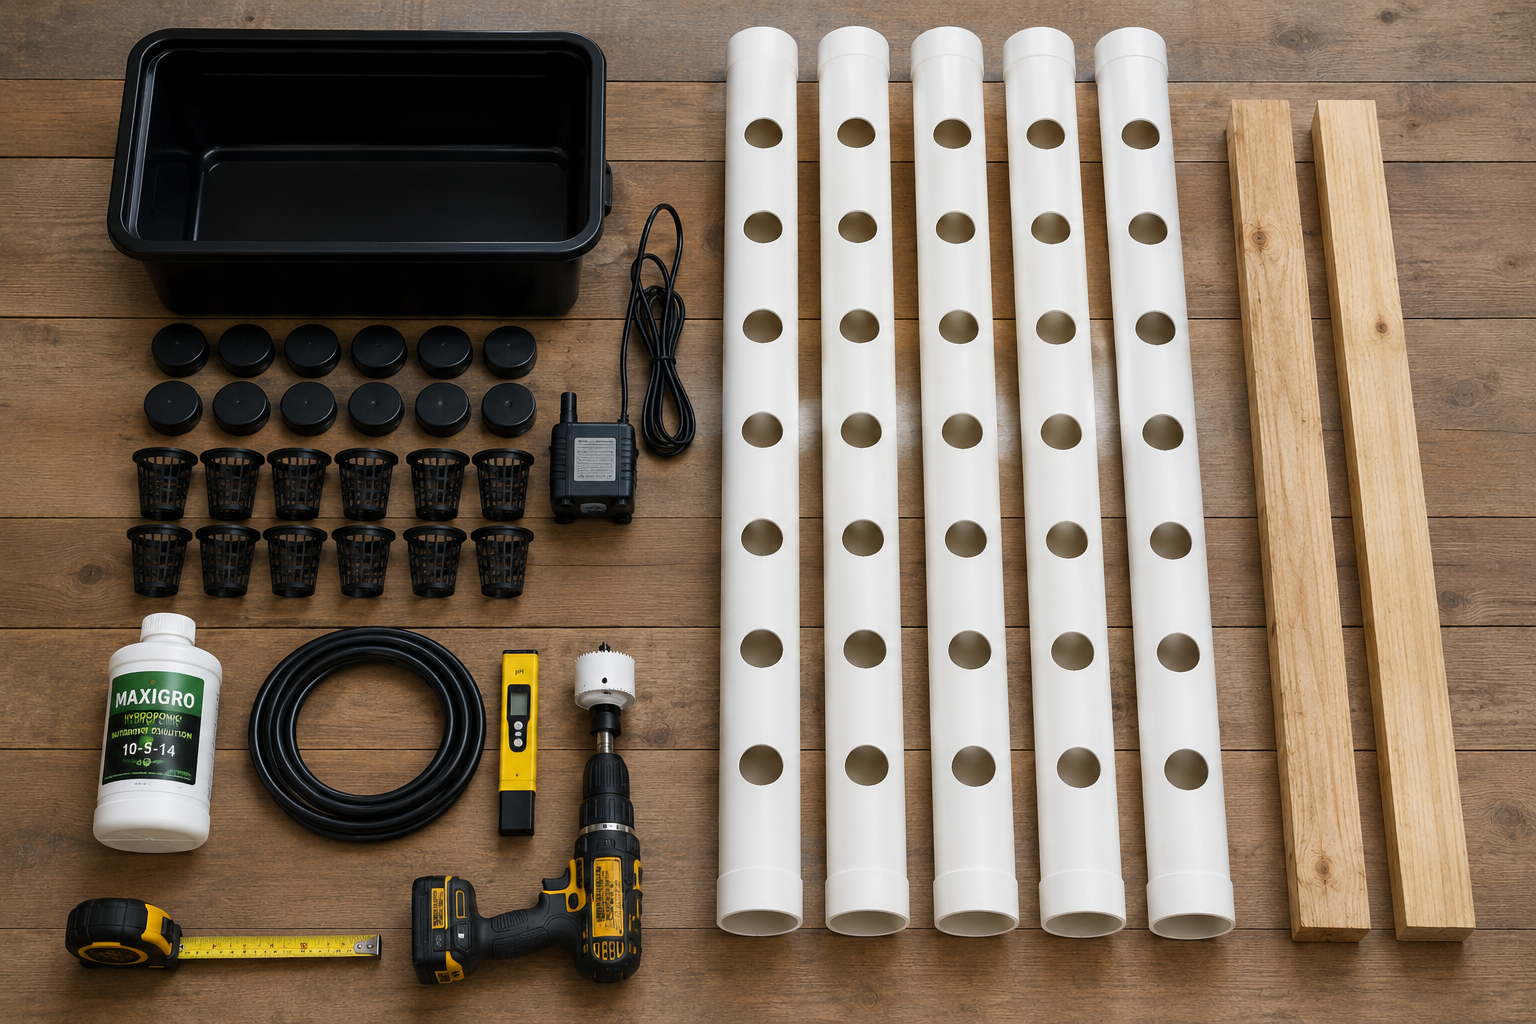
| Item | Qty | Cost |
|---|---|---|
| 4-inch PVC pipe, 6 feet long | 6 pipes | $5–6 each |
| PVC end caps (4-inch) | 12 | $1 each |
| 2x4 lumber, 6 feet (legs) | 4 | $4–6 each |
| 2x4 lumber, 4 feet (crossbars) | 4 | $3–4 each |
| 2x4 lumber, 4 feet (top ridge beam) | 1 | $3–4 |
| Submersible pump (200–400 GPH) | 1 | $12–18 |
| Black opaque reservoir (15–20 gal) | 1 | $10–15 |
| Vinyl tubing (½ inch) | 10 ft | $5–8 |
| Grommets or barbed fittings (½ inch) | 6 | $1–2 each |
| 2-inch net pots | 36–48 | $5–8 |
| Hydroponic nutrient solution | 1 bottle | $12–15 |
| pH meter or test kit | 1 | $8–15 |
| Hydroton or rockwool | 1 bag | $10–12 |
| Wood screws + PVC primer/cement | 1 set each | $13–17 |
Total: $85–$105
Tools needed: Drill with 2-inch hole saw, ½-inch spade bit, measuring tape, carpenter’s square, level, hacksaw or PVC cutter, sandpaper (120 grit).
How Does It Work?
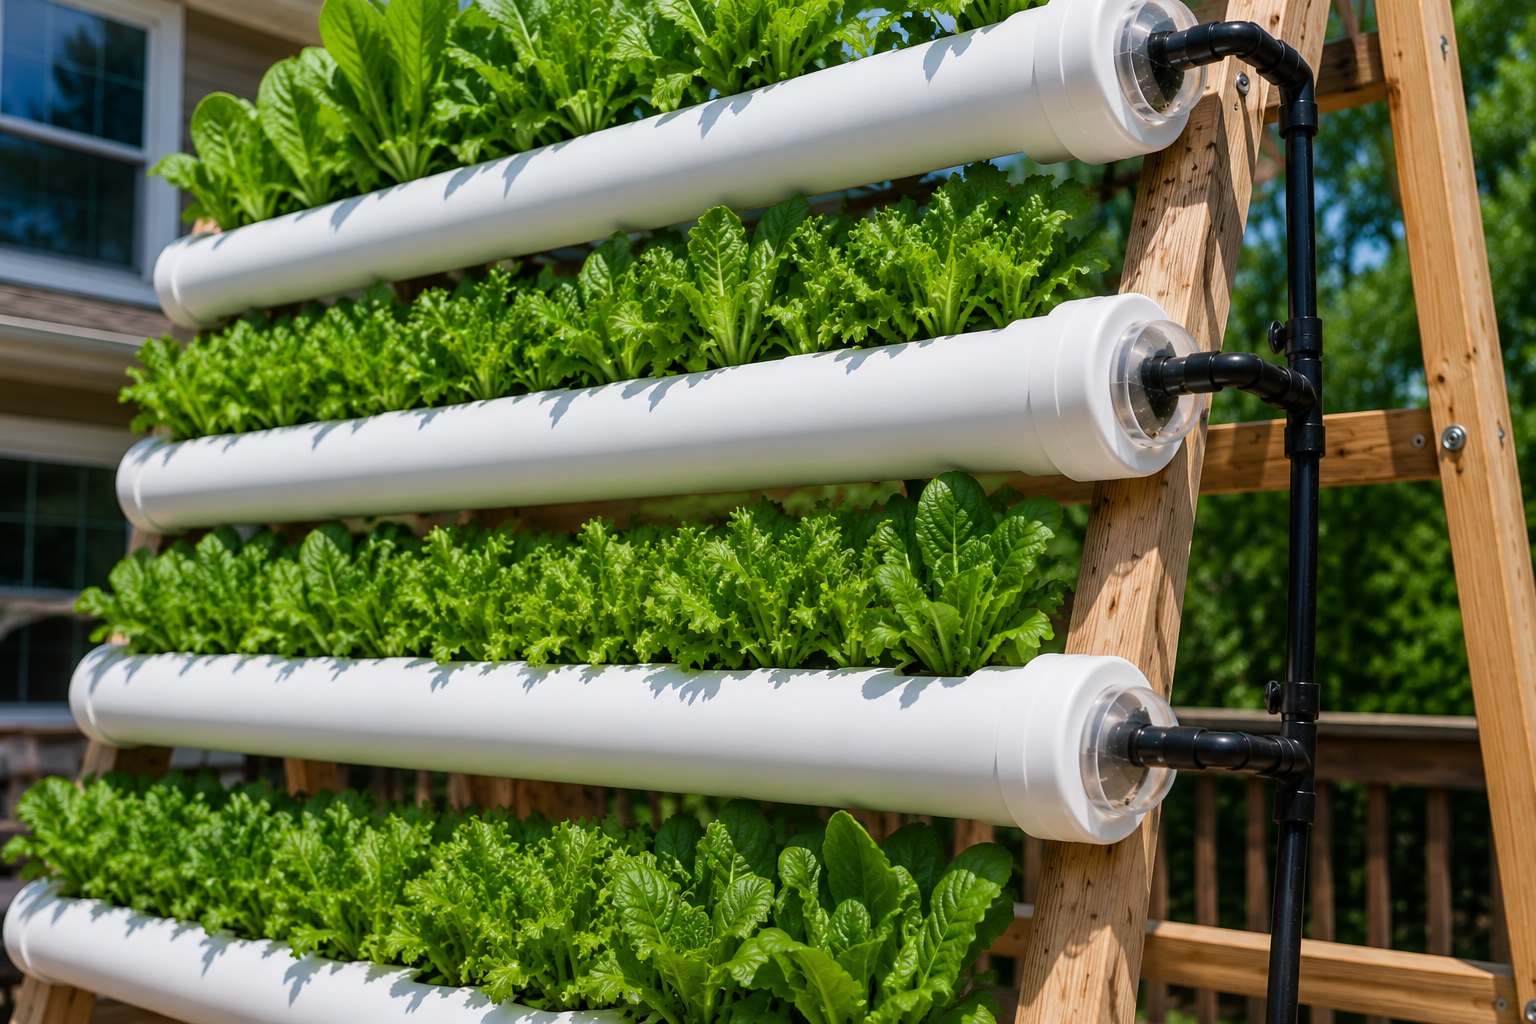
The A-Frame runs on NFT (Nutrient Film Technique). A pump in the reservoir pushes nutrient solution up to the first net pot hole of the top pipe on each side. Water flows as a thin film along the bottom of each pipe, over plant roots in net pots, then drains through a ½-inch hole at the pipe end, connected via a short vinyl tube with grommet fittings directly into the body of the pipe below, not through end caps. The bottom pipe on each side returns water to the reservoir.
Each pipe tilts 1 to 2 degrees downward toward the drain end to keep water moving. Standard NFT practice, documented by institutions including the University of Arizona Controlled Environment Agriculture Center, targets 1 to 2 liters per minute per channel for consistent film formation without pooling or runoff. The pump must run continuously 24/7, the thin film dries within 45 minutes if the pump stops.
What Grows Best in an A-Frame System?
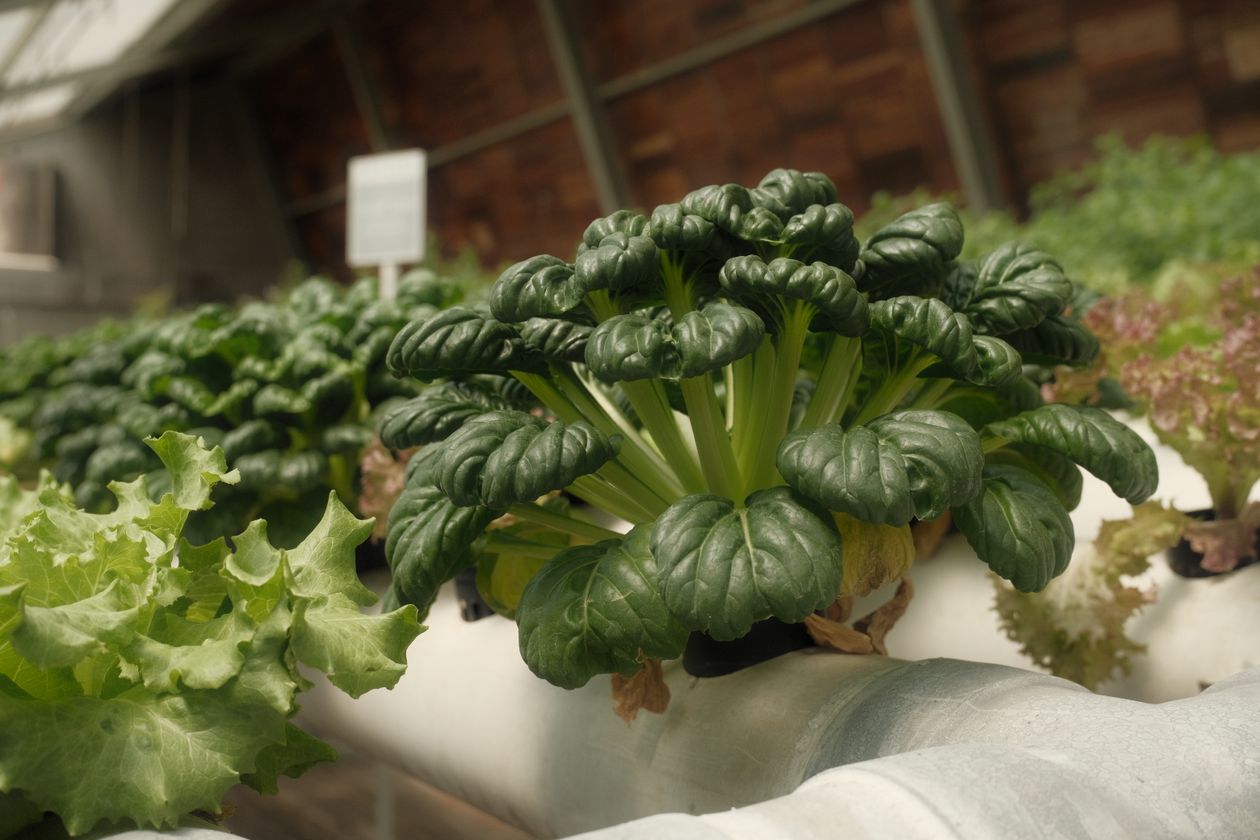
Leafy greens are the ideal fit: lettuce, spinach, arugula, kale, Swiss chard, and bok choy. These have compact root zones, harvest in 3 to 5 weeks from transplant, and tolerate constant NFT film well. Herbs, basil, cilantro, parsley, chives, also perform well and can fill gaps between leafy green rows without competing for light.
Cherry tomatoes work in lower rows with a stake or trellis for support, but their larger root zones need wider net pot spacing (10 to 12 inches rather than 8). Root vegetables and large fruiting plants are poor choices, they need soil depth or structural support the A-Frame cannot provide.
Stagger planting by row every 1 to 2 weeks so each row reaches harvest at a different time. This gives you a continuous supply rather than one large flush. For EC and pH targets per crop, see the best plants to grow hydroponically.
How Do You Build It Step by Step?
Step 1, Build the frame. Cut four 6-foot 2x4s for the diagonal legs and four 4-foot 2x4s for crossbars. Assemble each side into a ladder shape with two crossbars spaced evenly. Join both sides at the top with a 4-foot top ridge beam, this horizontal beam runs across the peak and is essential for structural stability under the weight of filled pipes and plants. Without it, the frame will splay outward over time. Secure all joints with 2.5-inch screws and a carpenter’s square.
Step 2, Cut and drill pipes. Cut all pipes to identical 6-foot lengths. Mark hole positions along the top face every 8 inches and drill with a 2-inch hole saw, this gives 6 to 7 net pot positions per pipe. Sand all rough edges. With 3 pipes per side and 6 plants per pipe, total capacity is 36 plants; at 7 plants per pipe, 42 plants.
Step 3, Prepare end caps and drain connections. Cement one solid end cap on each pipe’s far end. On the near end, cement another solid end cap with no inlet holes. Instead, drill a ½-inch hole using a spade bit into the body of the pipe at the drain end, 0.5 inches above the bottom of the pipe. This maintains a thin water film at the base without draining completely. Insert a barbed grommet fitting into this hole to connect the drain tube to the pipe below. The main pump supply line connects directly into the first net pot hole of each top pipe via a barbed fitting.
Step 4, Mount pipes. Space 3 pipes evenly on each side of the A-Frame. Keep at least 14 to 16 inches of vertical clearance between pipes, this prevents the upper plant canopy from shading lower rows. Confirm 1 to 2 degree downward slope on every pipe with a level. Secure with pipe straps.
Step 5, Connect water flow. Run a short vinyl tube from the drain grommet of each upper pipe into the grommet of the pipe directly below. The bottom pipe drains back into the reservoir via a return line. Connect the pump outlet to a Y-connector that splits supply to both top pipes simultaneously, with each supply line entering directly through the first net pot hole.
Step 6, Position the reservoir. Place directly under the center of the frame in shade. Controlled environment agriculture research, including work from Cornell’s CEA program, consistently identifies nutrient solution above 75°F (24°C) as a root rot risk factor due to rapid dissolved oxygen loss. Keep the reservoir out of direct sun even when the plants face full sun.
How Do You Set Up for the First Run?
Leak test first. Fill the reservoir with plain tap water, run the pump for 15 minutes, and check every grommet fitting and connection. Mark and fix all drips before adding nutrients.
Adjust pump flow. Target 1 to 2 liters per minute across each pipe. Start the pump at its lowest setting and increase gradually until water flows visibly but gently without splashing or pooling. Once confirmed, drain the plain water, refill with nutrient solution, and adjust to pH 5.8 to 6.3 as outlined in the Oklahoma State University EC and pH guide for hydroponics. Set EC to 1.2 to 2.0 mS/cm for leafy greens and herbs.
For diagnosing pH problems after the system is running, see pH and nutrients for beginners.
What Are the Most Common Build Mistakes?
Wrong pipe slope. Use a level on every pipe, a half-degree mistake causes pooling or runoff. Check slope again after mounting, since pipe weight shifts slightly once filled with water.
Skipping the water test. Every leak wastes nutrients and can damage roots. Always test with plain water for at least 15 minutes before adding any nutrient solution.
Reservoir in direct sun. Shade the reservoir even when the plants face full sun. Temperature above 75°F drops dissolved oxygen fast and opens the door to root rot. If the reservoir heats up on hot days, add a lid and consider placing it under the frame where the structure provides natural shade.
Stopping the pump at night. NFT roots are not submerged, they sit in a thin film. Without it, they suffocate. Run the pump 24/7. If power outages are a concern in your area, keep a backup pump on hand.
Insufficient vertical clearance between pipes. Less than 14 inches between rows causes upper plant canopies to shade lower rows completely. Space pipes evenly across the full frame height from the start.
How Do You Maintain the System?
- pH every 3 to 4 days. Drift above 6.5 locks out iron and manganese; drift below 5.5 causes calcium and magnesium deficiency.
- Reservoir top-up weekly. Use plain pH-adjusted water between full solution changes. Change the full solution every 2 weeks.
- Pump and tubing monthly. Clear filter debris and check grommet fittings for mineral buildup. Wrap any clear tubing in black tape to block algae growth. For a full prevention approach, see hydroponic algae prevention.
The Bottom Line
Three details determine success: pipe slope at exactly 1 to 2 degrees, pump running 24/7, and reservoir kept out of direct sun.
For the leafy greens and herbs that perform best in this system, see 8 best leafy greens for hydroponics. For an overview comparing all five vertical system types including build cost and space requirements, see how to build a vertical hydroponic system at home.
How many plants can an A-Frame hydroponic system hold?
36 to 42 plants with 6-foot pipes at 8-inch spacing, 3 pipes per side, 6 to 7 plants per pipe. Wider spacing gives larger varieties like romaine and kale more root space and reduces canopy shading between rows.
What wood should I use for an outdoor A-Frame build?
Cedar or pressure-treated pine for outdoor builds. Both resist moisture and last 5 to 10 years. Standard pine works indoors but warps if consistently exposed to moisture outdoors.
How do I prevent algae in the pipes?
Keep the reservoir opaque, wrap any clear tubing in black tape, and make sure net pots fit snugly in their holes so no light enters the pipe interior. Algae needs light to grow, block all light from the nutrient solution.
How long until first harvest in an A-Frame hydroponic system?
Leafy greens take 3 to 5 weeks from transplant. Herbs take 3 to 4 weeks. Stagger planting by row every 1 to 2 weeks for a continuous harvest instead of one large flush.
Sources (3)
- University of Arizona, Controlled Environment Agriculture Center, retrieved 2026-06-28, https://ceac.arizona.edu/
- Oklahoma State University Extension, Electrical Conductivity and pH Guide for Hydroponics, retrieved 2026-06-28, https://extension.okstate.edu/fact-sheets/electrical-conductivity-and-ph-guide-for-hydroponics.html
- Cornell University, Controlled Environment Agriculture, retrieved 2026-06-28, https://cea.cals.cornell.edu/